
Join 1,000s of professionals who are building real-world skills for better forecasts with Microsoft Excel.
Issue #35 - Boosted Decision Trees Part 4:
Making Predictions
This Week’s Tutorial
This week's tutorial will teach you how the AdaBoost algorithm creates its predictions from an ensemble of machine learning models.
If you would like to follow along with today's tutorial (highly recommended), you will need to have entered the code from Part 3 of this series.
The Intuition So Far
As you've learned in this tutorial series, the AdaBoost algorithm uses a collection of ML predictive models (i.e,. an ensemble).
The AdaBoost ensemble consists of weak learners (i.e., decision stumps), where each weak learner focuses on correcting the erroneous predictions of the previous weak learner.
AdaBoost achieves this focus on previous errors by weighting each row of the training data, where rows that were erroneously predicted by the last weak learner receive a higher weight.
AdaBoost takes into account that some weak learners will be more accurate in their predictions than others. More accurate weak learners are considered more "important" and are assigned an alpha score to reflect this importance.
Weak Learner Predictions
Despite having multiple weak learners in the ensemble, the AdaBoost algorithm must produce a single prediction for each row of data.
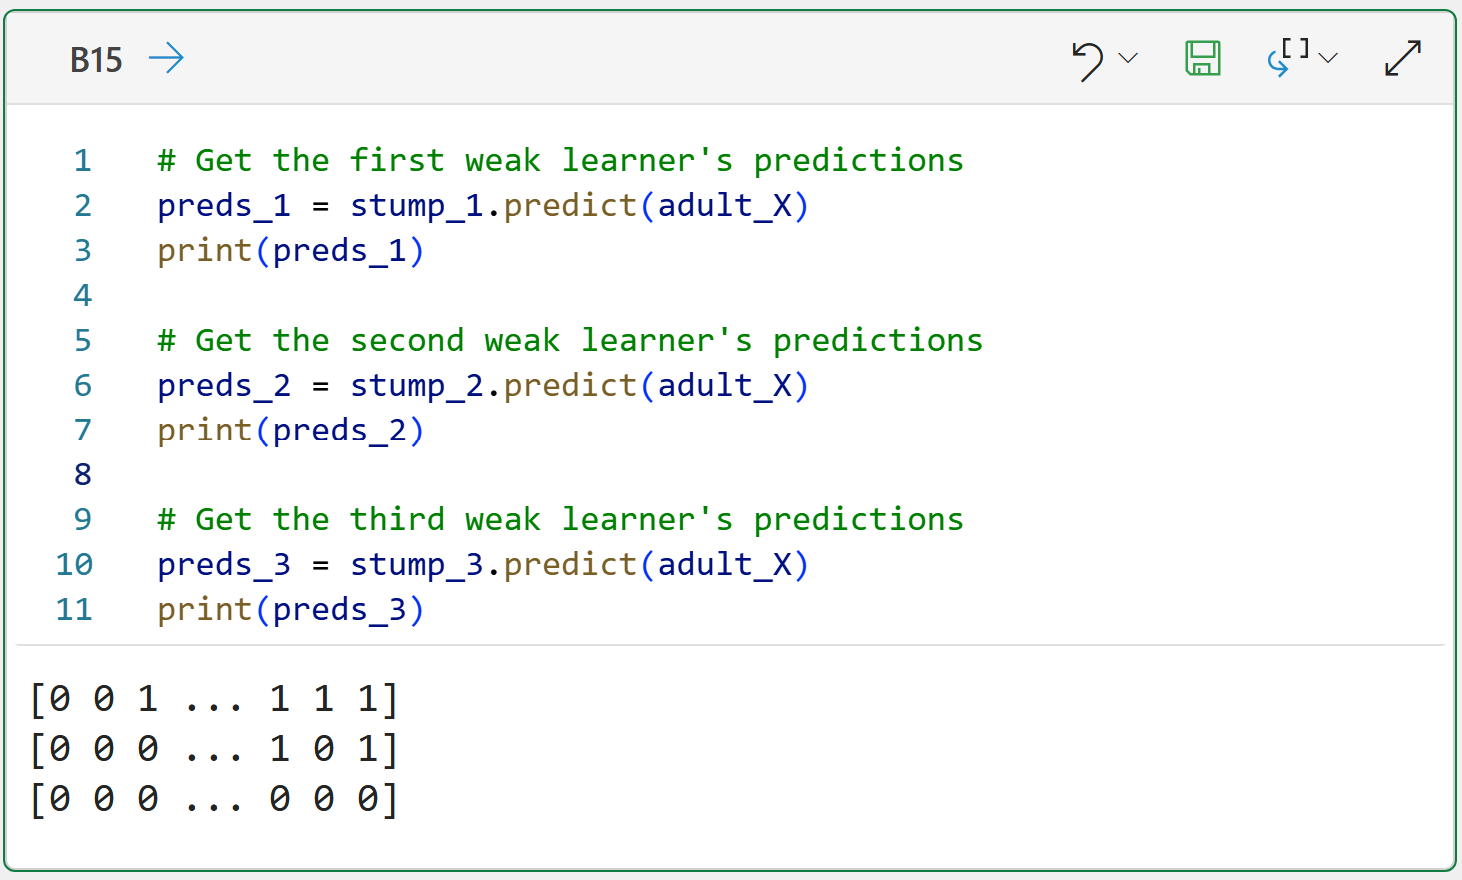
This means that the AdaBoost algorithm must combine each weak learner's predictions for every row of data. So, not surprisingly, the first step is to get predictions from the weak learners.
In this tutorial, we'll see how well the AdaBoost ensemble of three weak learners from Part 3 performs in predicting the training dataset. Here's the Python code for getting the predictions:
NOTE - The code above is shown using Python in Excel, but is the same code you would use in any Python technology (e.g., Jupyter Notebooks).
As you can see in the image above, the predictions are represented using zeroes and ones, where a zero maps to the <=50K label and a one maps to the >50K label.
The use of zeroes and ones is standard for algorithms from the scikit-learn library, but the classic version of the AdaBoost algorithm uses -1 and +1 instead. So we need to convert the predictions using the following code:

If you're curious as to why AdaBoost uses -1 and +1 instead, it has to do with how "importance" is incorporated into combining the predictions across the weak learners.
As you will see below.
Weighting Weak Learner Predictions
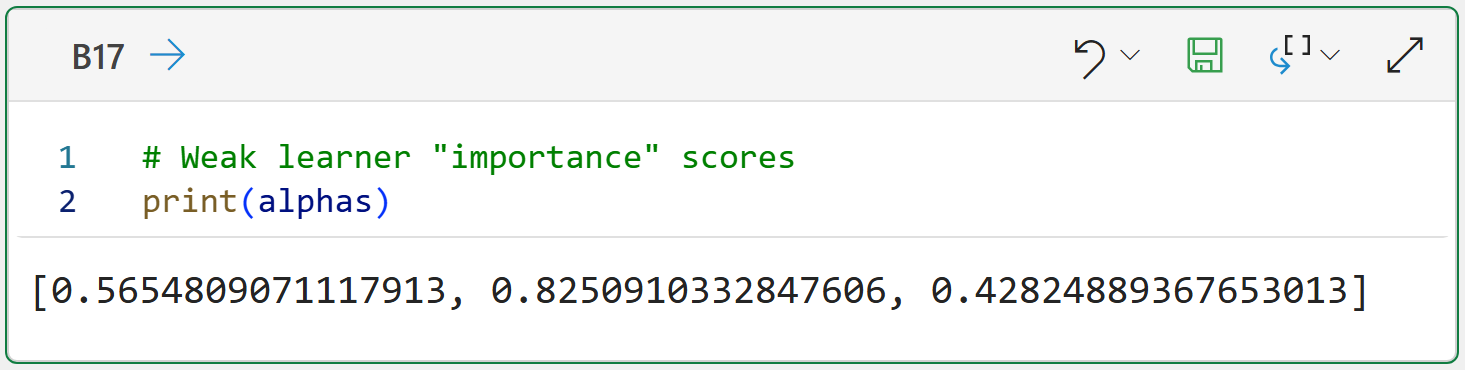
As covered in the previous tutorial in this series, each weak learner is assigned an importance score, called alpha, based on the weighted errors of the weak learner.
Here are the alpha scores for each of the three weak learners in the ensemble:
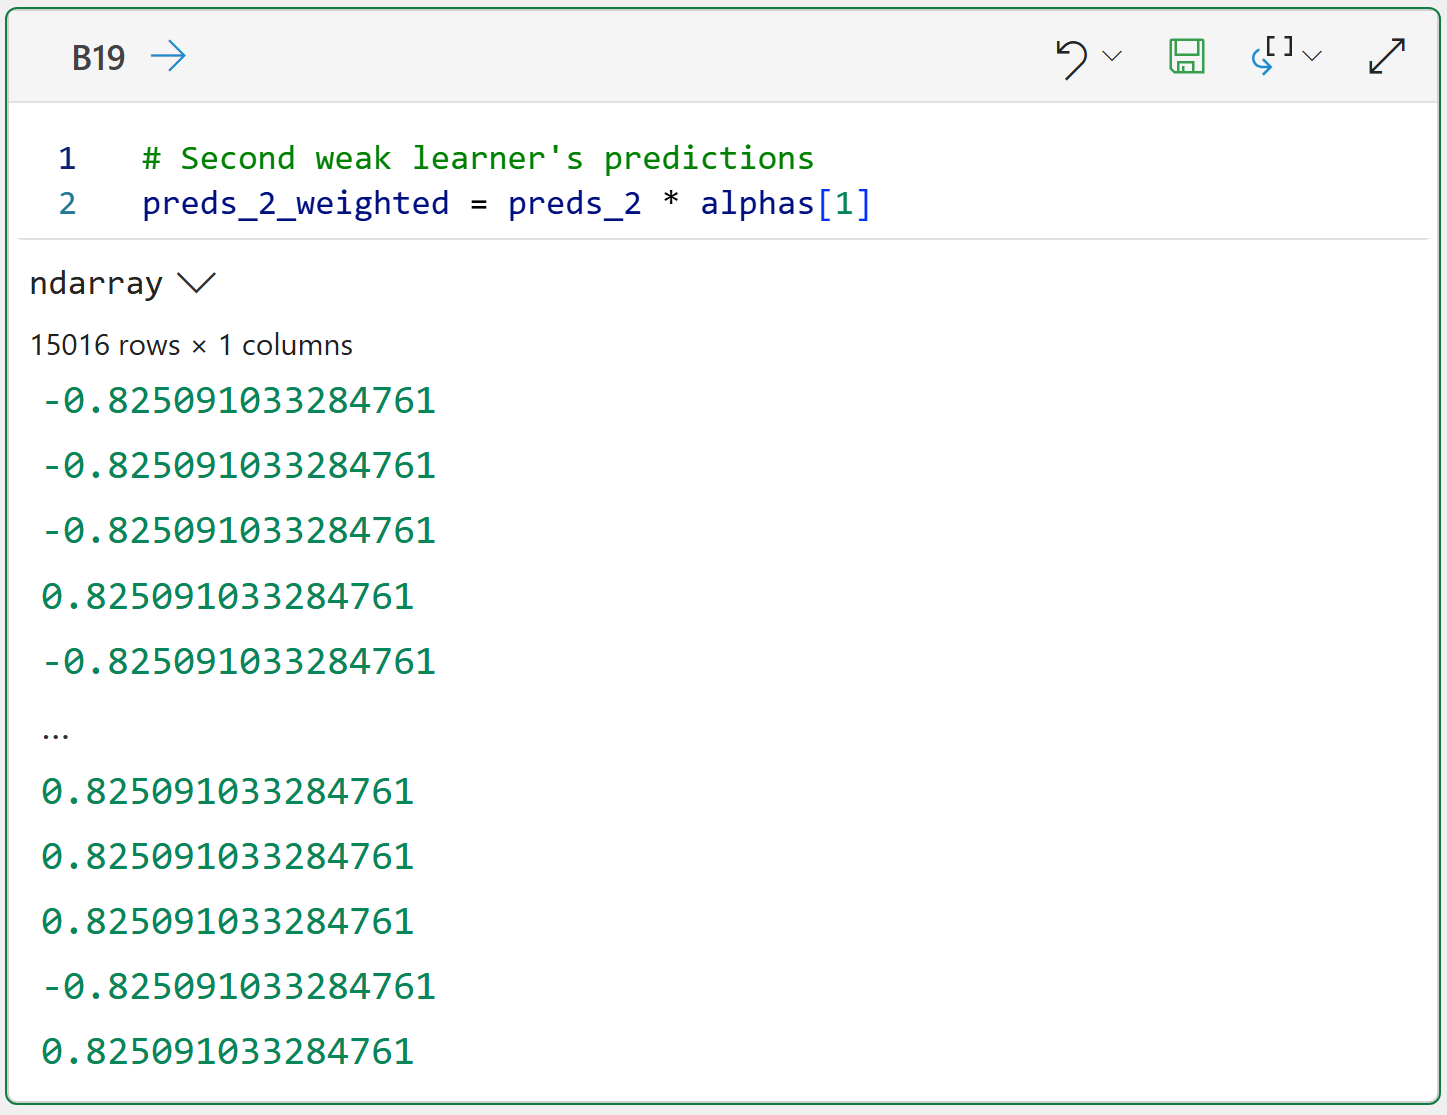
When crafting the overall ensemble's predictions, AdaBoost first multiplies each weak learner's alpha score by the respective predictions (i.e., -1 and +1).
Here's the code for weighting the predictions for the first weak learner:

The output above demonstrates how the first weak learner's predictions have been "discounted" using the alpha score.
And the weighted scores for the second weak learner (which has a higher alpha):
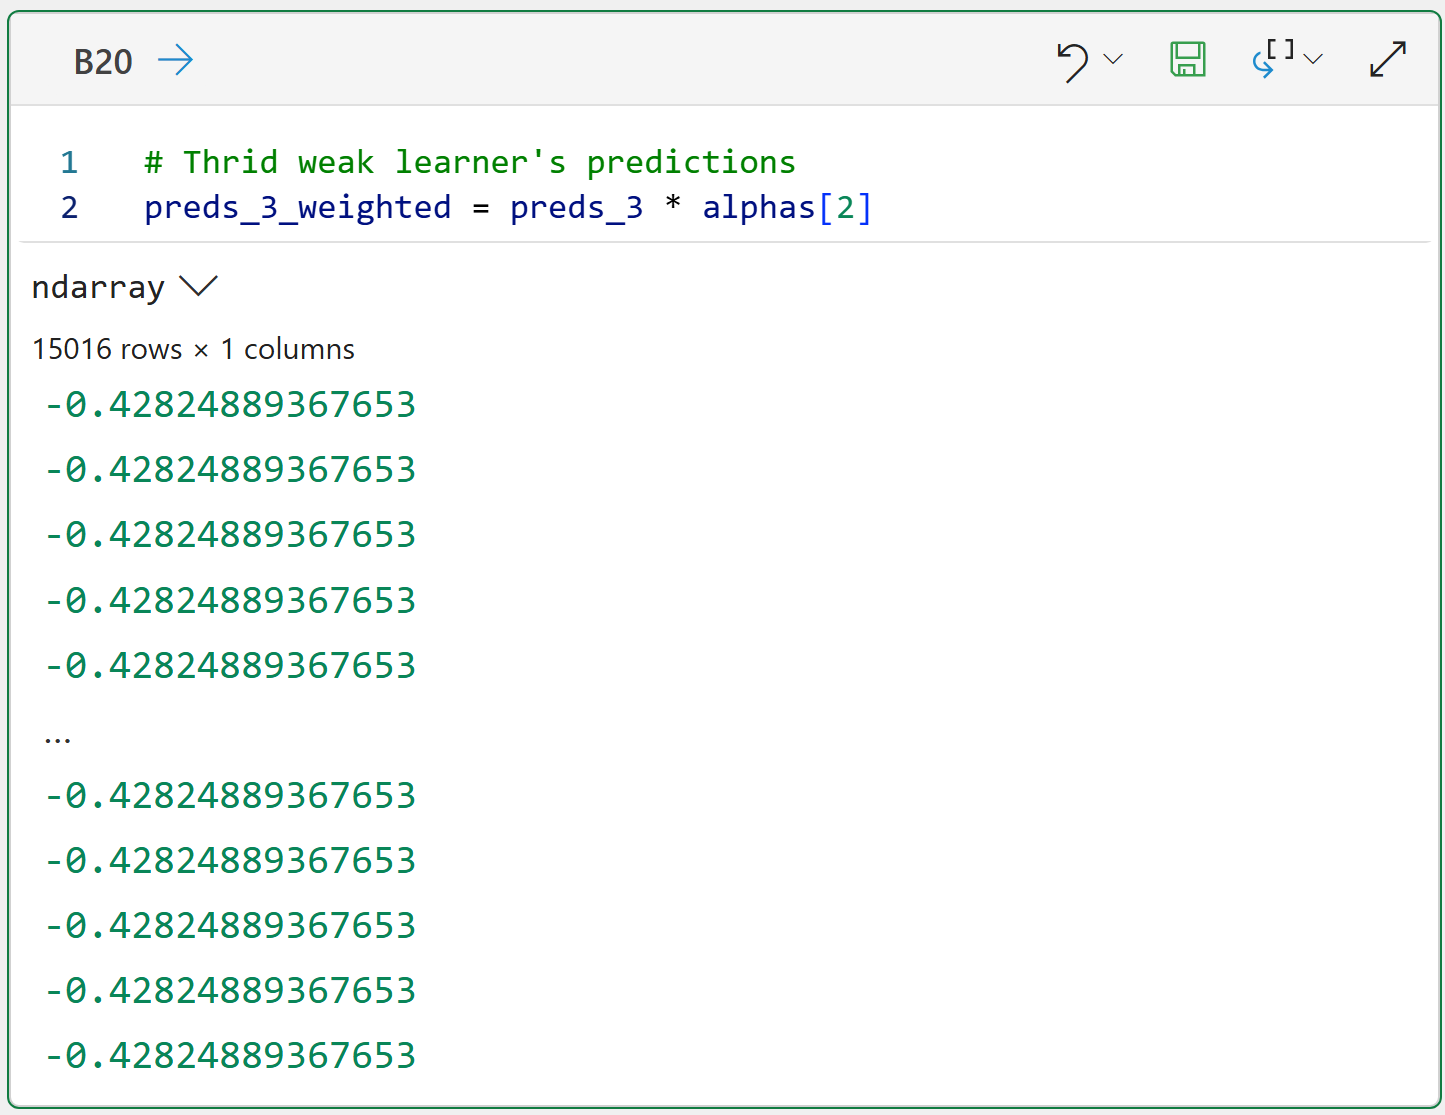
And the third weak learner (which has the lowest alpha):
Ensemble Predictions
With all of the weak learner predictions weighted, AdaBoost adds the weighted predictions for each row of data:

Given that the scikit-learn library works with zeroes and ones, we can easily convert the ensemble's weighted predictions using the following code:
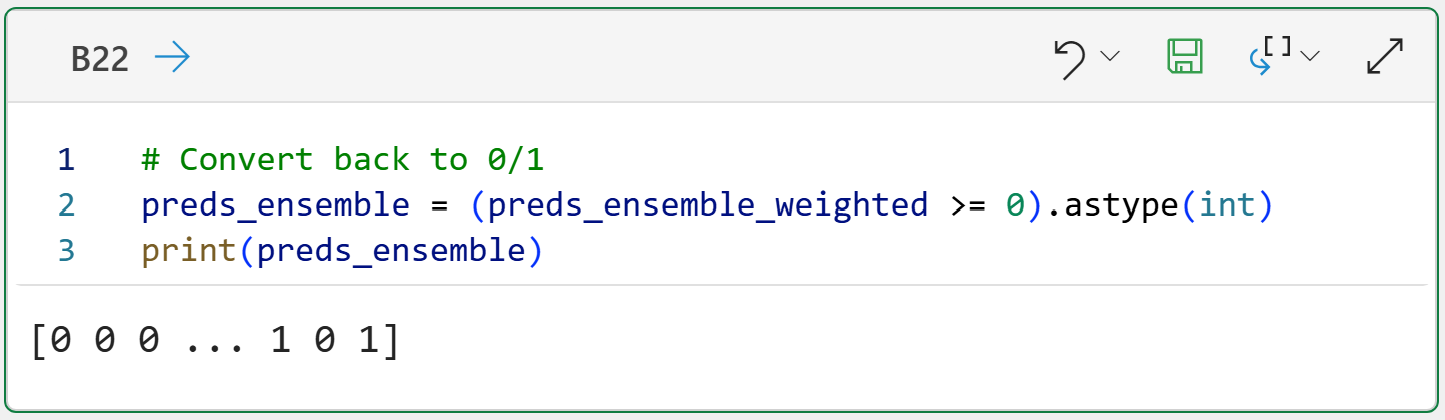
The conversion logic is simple:
Negative weighted predictions are transformed to zeroes.
Otherwise, weighted predictions are transformed to ones.
With the converted predictions, we can now calculate how well the ensemble predicts the training dataset:

NOTE - In the real world, you would use a technique like cross-validation instead of using the entire training dataset.
I wouldn't blame you if you weren't impressed with an accuracy score of 72% for the ensemble. Here are some ways you could potentially increase the accuracy:
Use more weak learners.
Use more features.
Both of the above.
This Week’s Book
If you're interested in time series forecasting with Python, this is a great book that is freely available online:
This book primarily focuses on traditional methods of time series forecasting and serves as a great introduction to the subject. Unfortunately, the book has limited coverage of using machine learning for forecasting.
That's it for this week.
Next week's newsletter will cover the scikit-learn library's classes for using AdaBoost and demonstrate ensemble accuracy using the test dataset.
Stay healthy and happy data sleuthing!

Dave Langer
Whenever you're ready, here are 3 ways I can help you:
1 - The future of Microsoft Excel forecasting is unleashing the power of machine learning using Python in Excel. Do you want to be part of the future? Order my book on Amazon.
2 - Are you new to data analysis? My Visual Analysis with Python online course will teach you the fundamentals you need - fast. No complex math required, and Copilot in Excel AI prompts are included!
3 - Cluster Analysis with Python: Most of the world's data is unlabeled and can't be used for predictive models. This is where my self-paced online course teaches you how to extract insights from your unlabeled data. Copilot in Excel AI prompts are included!