
Join 1,000s of professionals who are building real-world skills for better forecasts with Microsoft Excel.
Issue #36 - Boosted Decision Trees Part 5:
Using scikit-learn
This Week’s Tutorial
The scikit-learn library has become the de facto standard for machine learning using Python. Many powerful algorithms and functions are provided by scikit-learn, including the AdaBoostClassifier.
This week's tutorial covers using the AdaBoostClassifier and compares the algorithm's predictive performance versus a single decision tree model.
If you would like to follow along with today's tutorial (highly recommended), you will need to download the following files from the newsletter's GitHub repository:
Adult.xlsx if you're using Python in Excel
adult_train.csv and adult_test.csv if you're using Jupyter Notebook
If you're new to this tutorial series, be sure to check out the previous tutorials here.
Loading the Data
The following code loads the training and test datasets using Python in Excel and Jupyter Notebook, respectively::
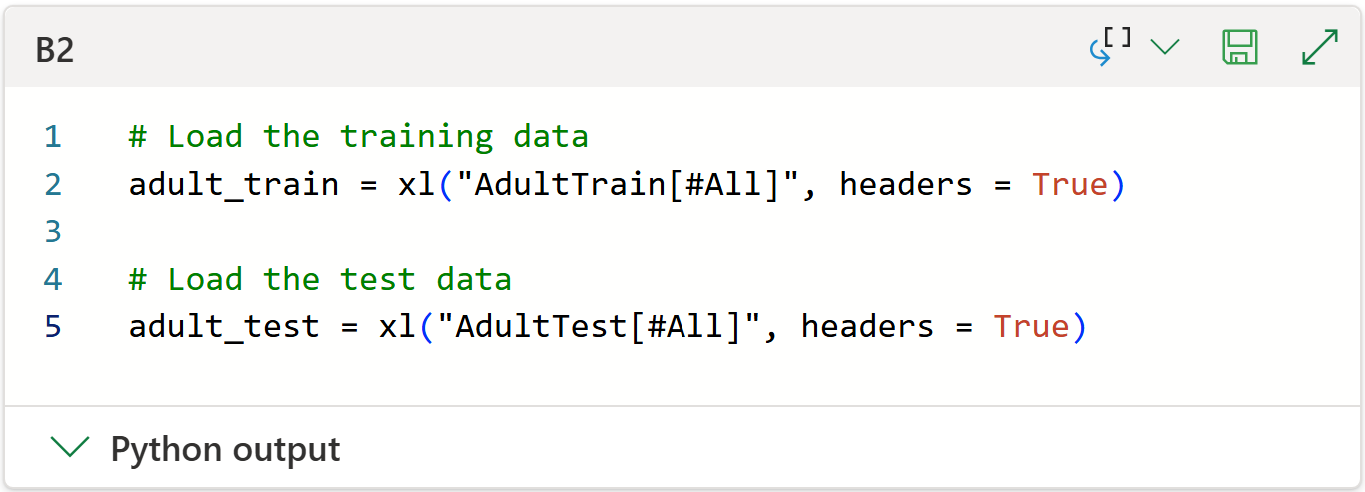
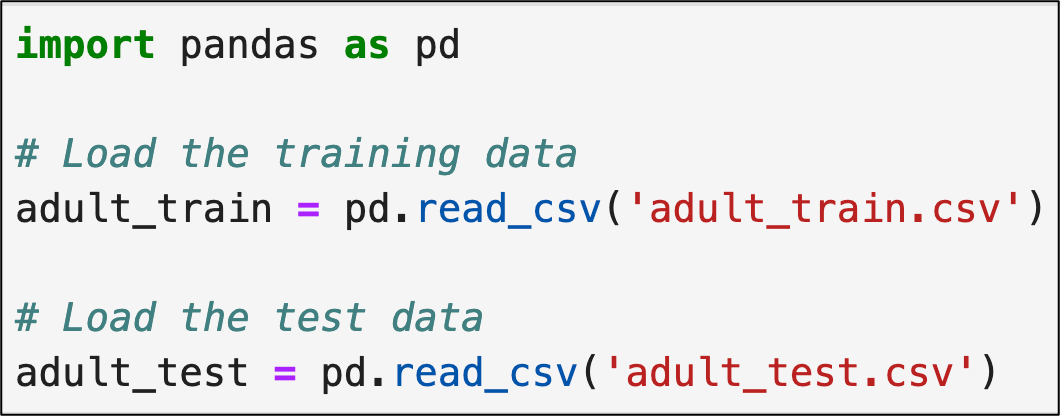
NOTE - Since the code remains the same (i.e., it works as-is in Jupyter), I will focus on Python in Excel for the remainder of this tutorial.
Next, I will use the same subset of features as in the previous tutorials of this series:

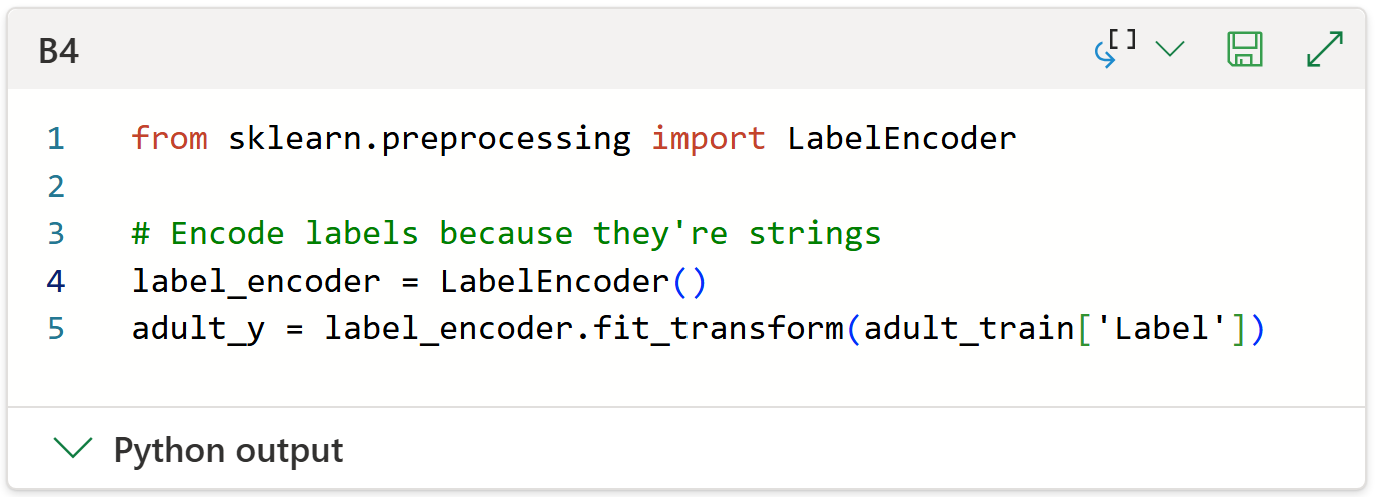
The last step in data prep is encoding the labels (i.e., <=50K and >50K) as numbers:
With the data loaded and prepped, it's time to train an AdaBoostClassifier.
Training the Ensemble
The classic version of the AdaBoost algorithm only supports binary classification scenarios like the following:
True/False
Approve/Deny
>=50K/<=50K
The AdaBoostClassifier implements the SAMME algorithm to handle scenarios with more than two labels (e.g., predicting Olympic medals).
Here's the code to instantiate an AdaBoostClassifier:

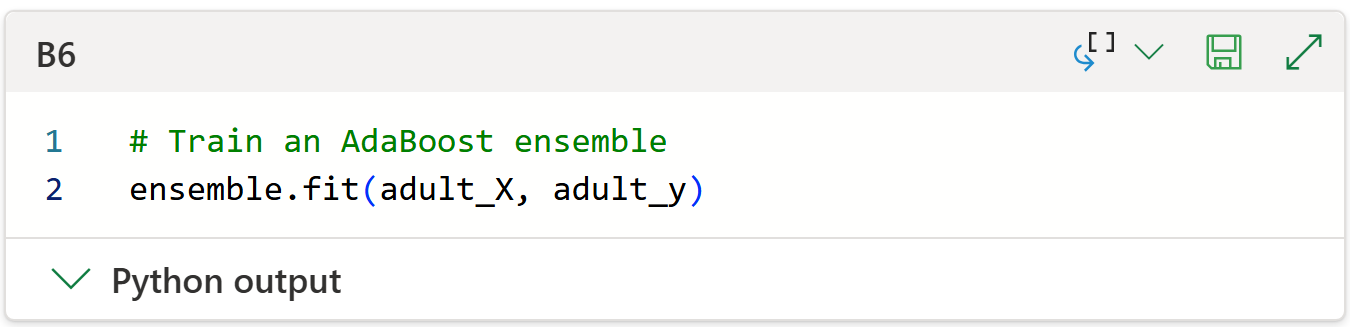
With the AdaBoostClassifier object instantiated, the next step is to train the model using the fit() method:
Testing AdaBoost Predictions
The final stage of a machine learning project is to evaluate the model's predictive performance against the test dataset. Intuitively, think of this like being a pass/fail final exam.
Assuming you've followed a rigorous project methodology (e.g., avoiding data leakage), then your model will fall into one of these categories:
Pass - The model meets (or exceeds) business requirements and can be used.
Fail - The model doesn't meet business requirements.
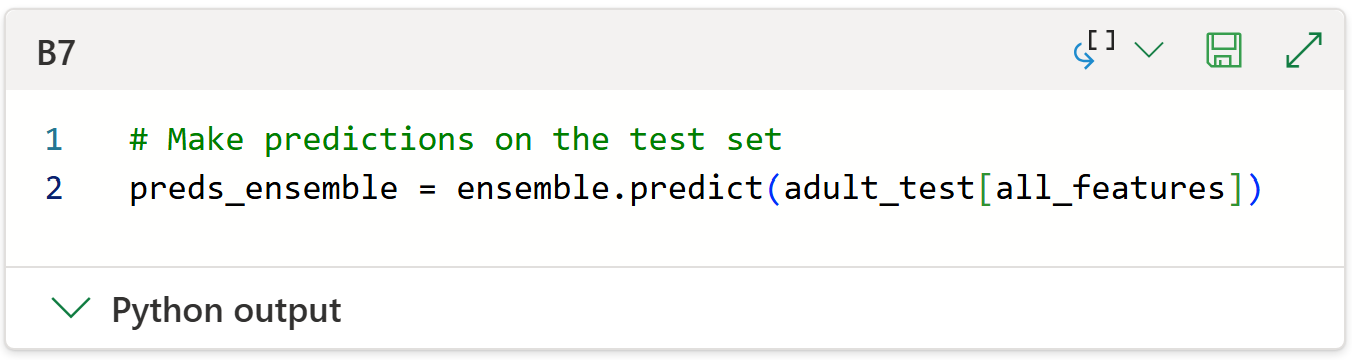
Here's the code for making predictions with the test set:
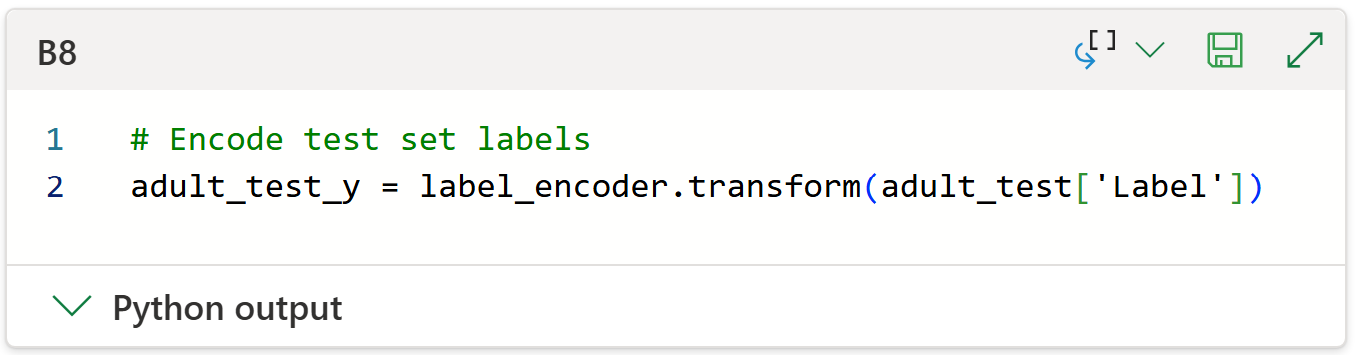
With the predictions made, we can evaluate the performance of the ensemble. However, we need to first encode the test set labels to be numbers by reusing the label_encoder object:
The last step is to evaluate the AdaBoost ensemble's predictions against the test set labels.
To keep things simple, I will use accuracy even though other metrics (e.g., sensitivity) might be more appropriate depending on the business scenario:
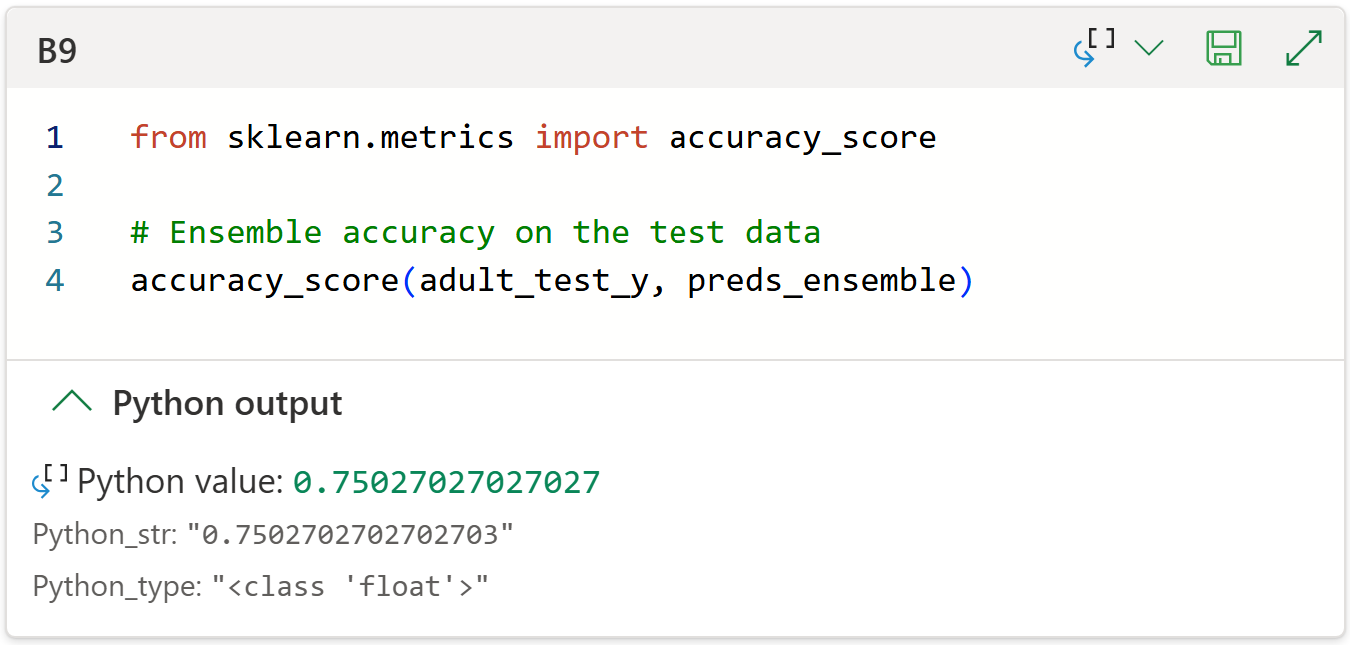
As with the last tutorial, I wouldn't blame you if you weren't impressed with 75.03% accuracy.
So, let's compare the AdaBoost ensemble to a single decision tree.
Comparing Models
The following code trains a DecisionTreeClassifier. The hyperparameter values (e.g., min_impurity_decrease = 0.001) were selected based on cross-validation using the training data:

And the single decision tree's accuracy on the test data:

Not too bad. The single decision tree scored only 0.5% less than the AdaBoost ensemble.
However, we also should consider the complexity of the single decision tree that achieved this score by visualizing the model:
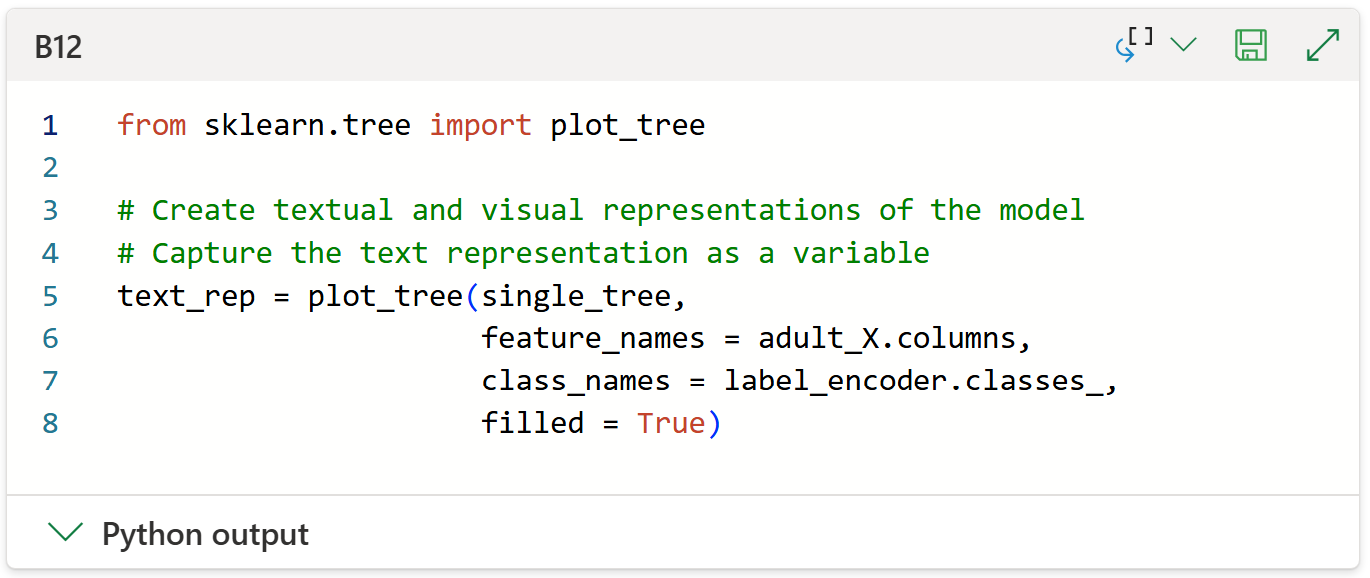
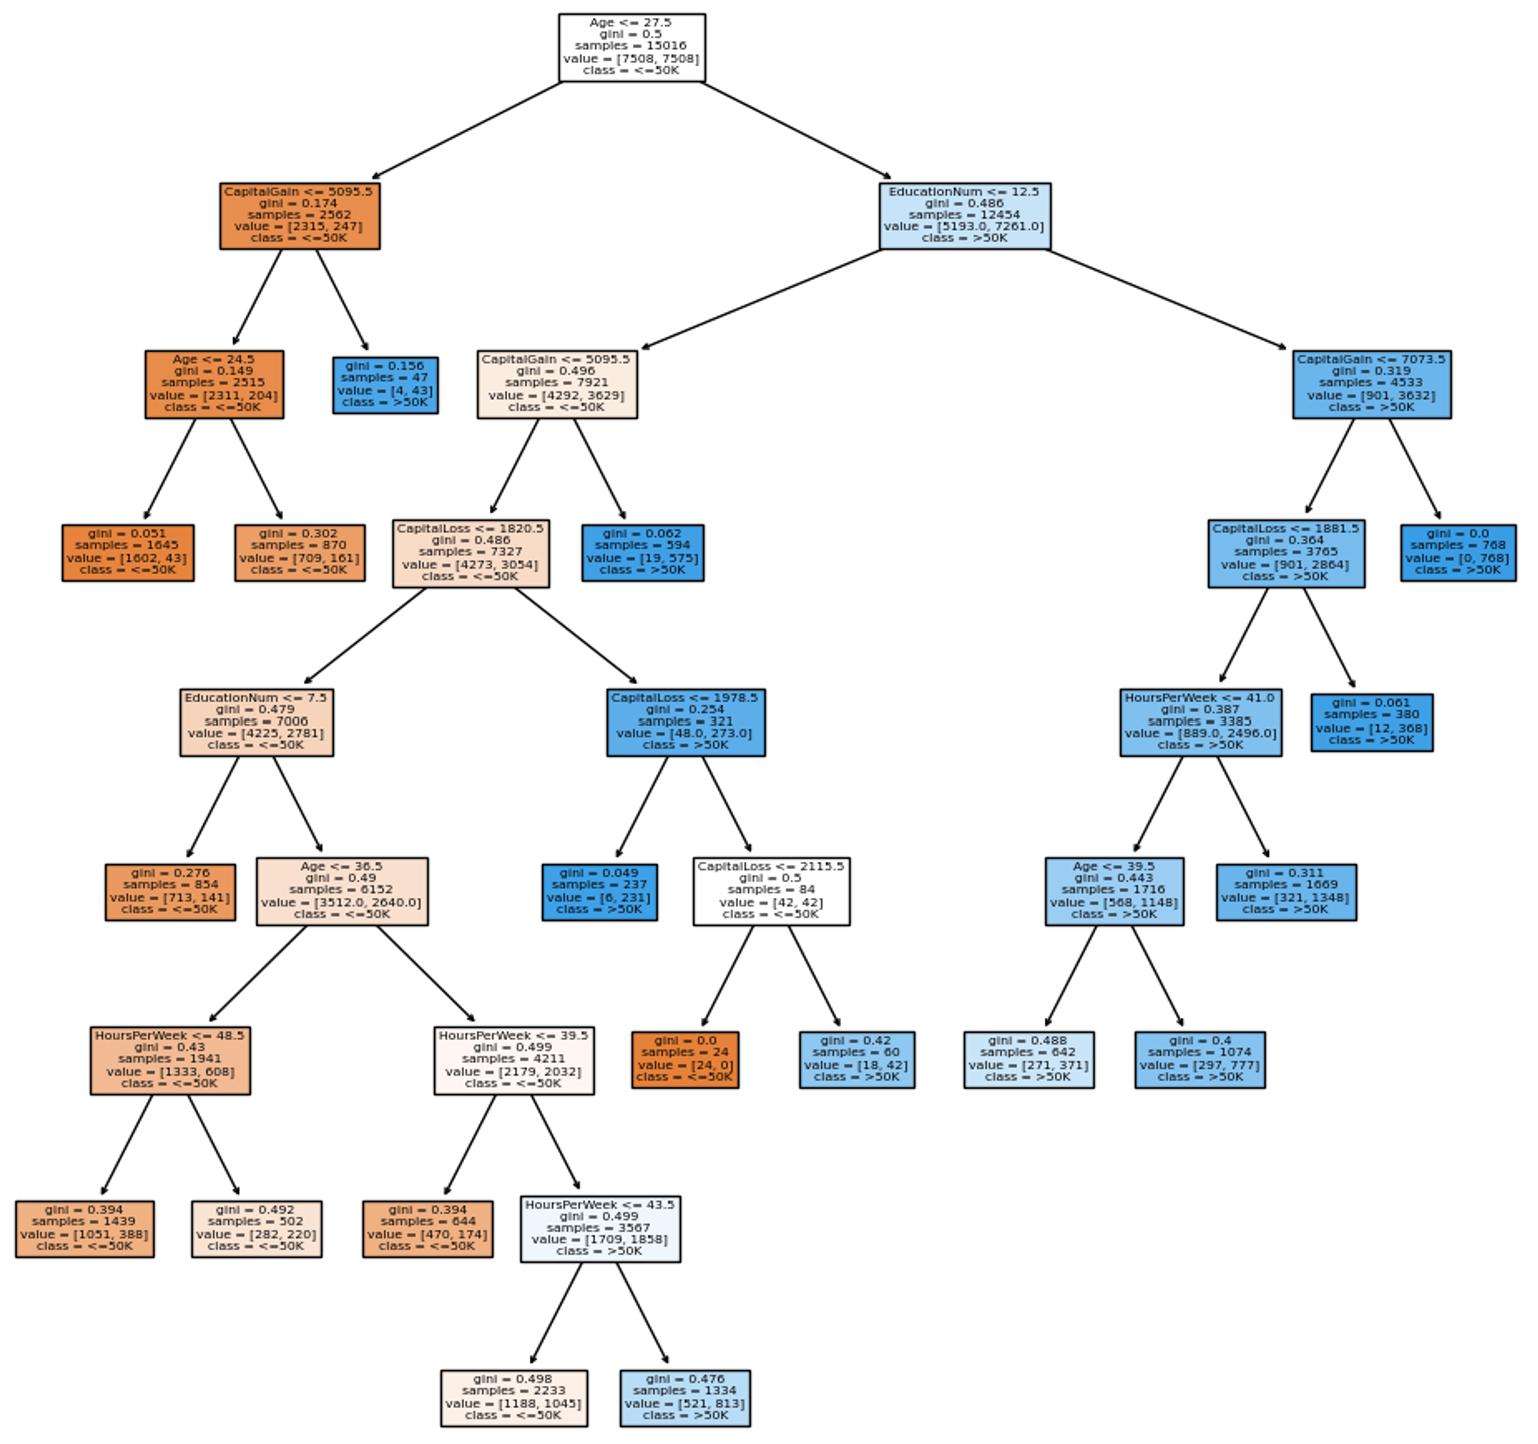
This decision tree isn't too complicated to achieve 74.5% accuracy on the test dataset. In general, less complicated trees tend to perform better over time.
However, what we typically see is greater differences in predictive performance between AdaBoost ensembles vs. single decision trees as we iterate through the machine learning project.
Iteratively Improving the AdaBoost Ensemble
The AdaBoostClassifier trained in this tutorial uses only a subset of the available features. It's likely that the ensemble could be improved by adding additional features like:
MaritalStatus
Occupation
Relationship
Most of the remaining features are categorical data represented as strings. So, one-hot encoding these features is a standard procedure before passing them to an AdaBoostClassifier.
In practice, the AdaBoost algorithm often makes better use of the information contained in one-hot encoded features compared to a single decision tree.
As you add new features, the optimal number of weak learners (i.e., the n_estimators hyperparameter) can change. Once again, cross-validation is your friend.
NOTE - You do not use the test dataset during this iterative process! Remember, the test dataset is like a final exam - you only get to take the test once at the end of the project.
This Week’s Book
I spoke to a new Fortune 500 client this week. Their organization aims to become more data-driven, beginning with manager training. This is my go-to book recommendation for helping managers become more data literate:

This book is a gentle introduction to using the mighty Process Behavior Chart (PBC) for performance management. It's very accessible to a broad audience and a quick read. Perfect for managers.
That's it for this week.
Next week's newsletter will demonstrate using Copilot in Excel AI prompts for generating Python code for training and testing an AdaBoostClassifier.
Stay healthy and happy data sleuthing!

Dave Langer
Whenever you're ready, here are 3 ways I can help you:
1 - The future of Microsoft Excel forecasting is unleashing the power of machine learning using Python in Excel. Do you want to be part of the future? Order my book on Amazon.
2 - Are you new to data analysis? My Visual Analysis with Python online course will teach you the fundamentals you need - fast. No complex math required, and Copilot in Excel AI prompts are included!
3 - Cluster Analysis with Python: Most of the world's data is unlabeled and can't be used for predictive models. This is where my self-paced online course teaches you how to extract insights from your unlabeled data. Copilot in Excel AI prompts are included!